This is an old revision of the document!
Flashlight Kit Build Instructions
http://lowvoltagelabs.com/products/flashligh-kit/
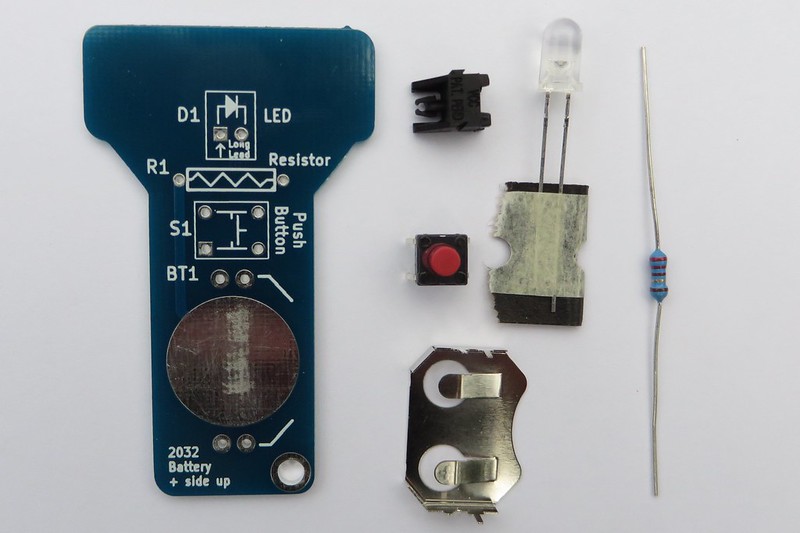
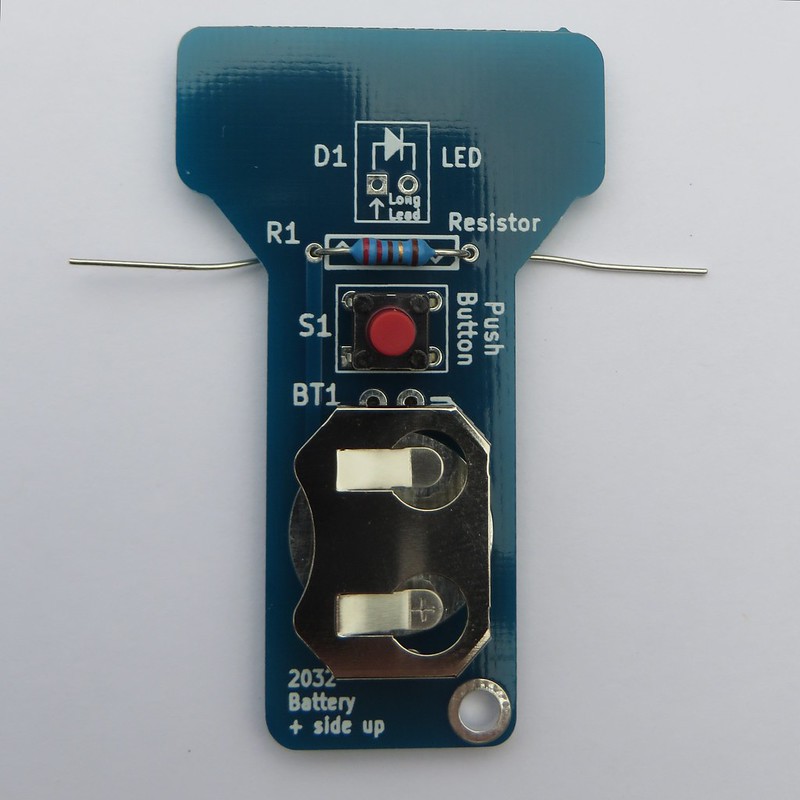
Step 1 - Check that all the parts were included with the kit.
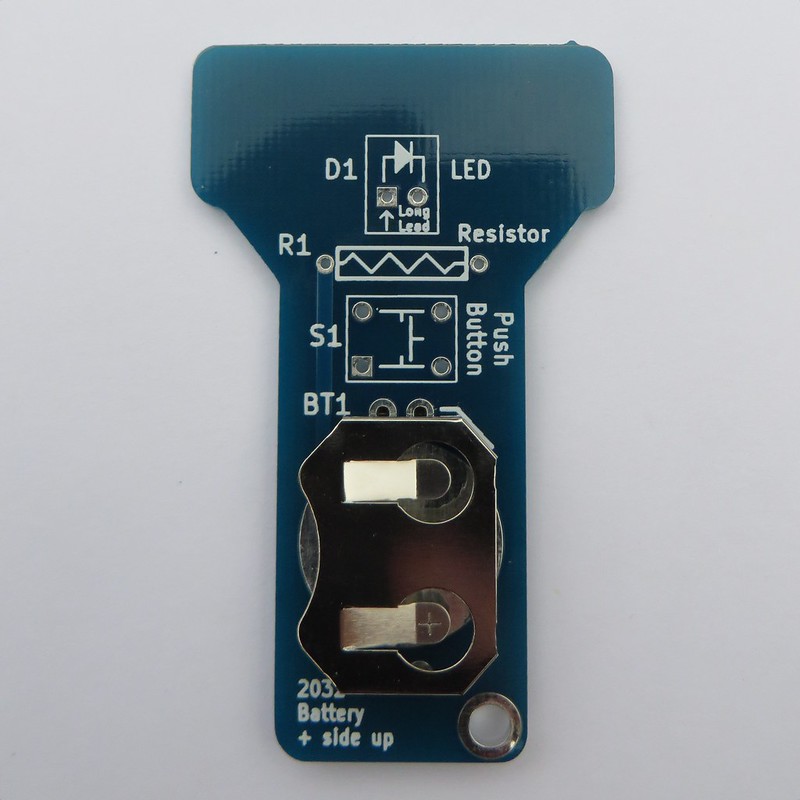
Step 2 - Install the battery holder with the opening to the left.
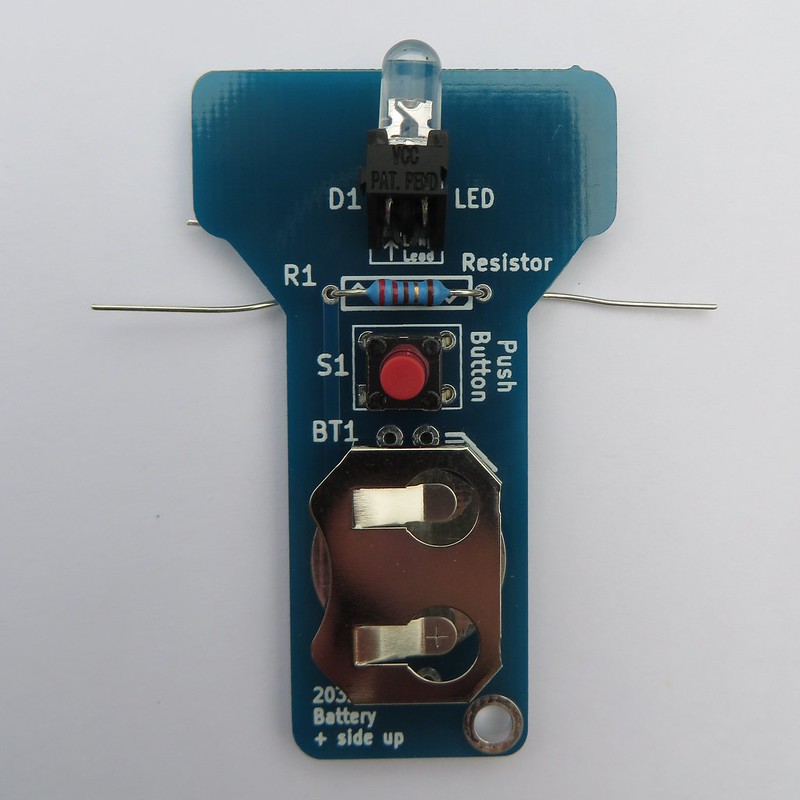
Step 3 - Install push button S1 into the PCB.
Step 4 - Fold the leads of the resistor over before installing into the PCB.

Step 5 - Install resistor R1. Fold the leads over on the back.
Step 6 - Assemble the LED and right angle LED holder together, before installing into the PCB.
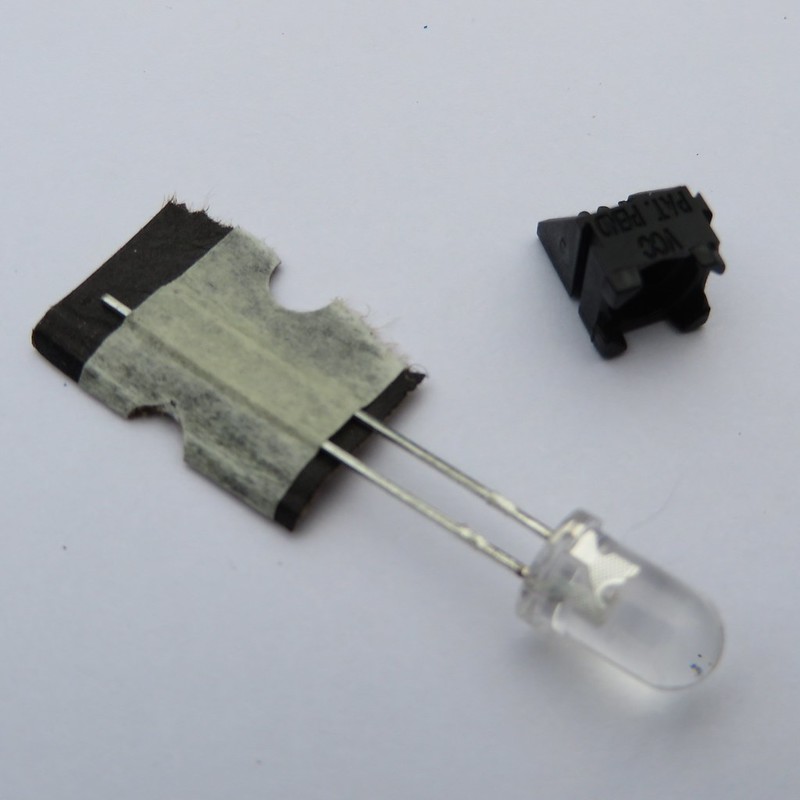
Step 7 - Insert the LED into the LED holder so that the longer lead matches up with the long lead hole in the PCB when installed.
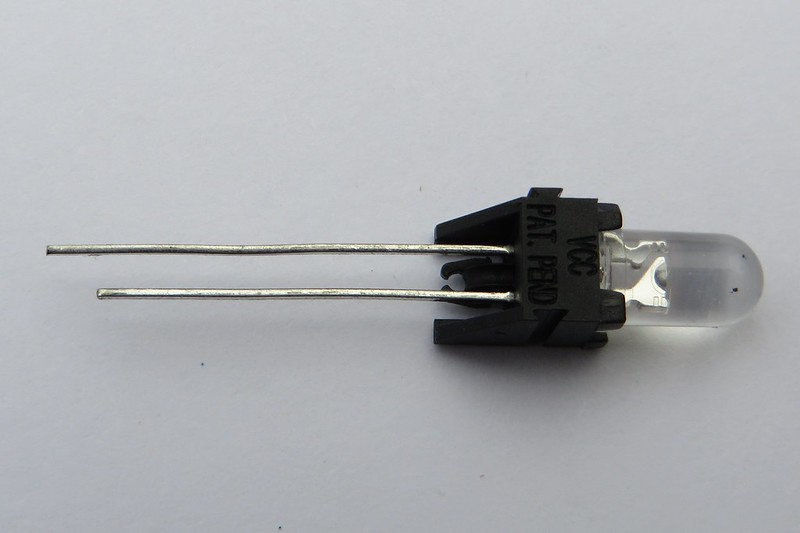
Step 8 - Bend the leads of the LED at a 90 degree angle before installing into the PCB
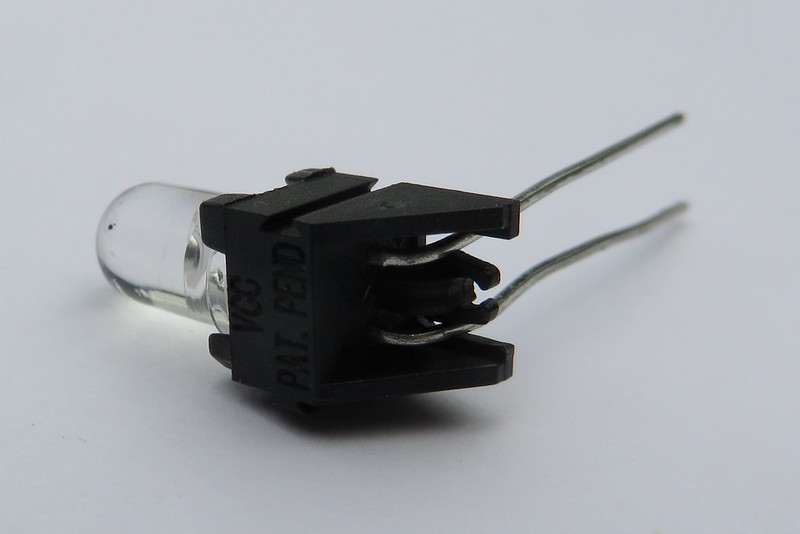
Step 9 - Install the LED holder with LED into the PCB. Fold the leads over on the back.
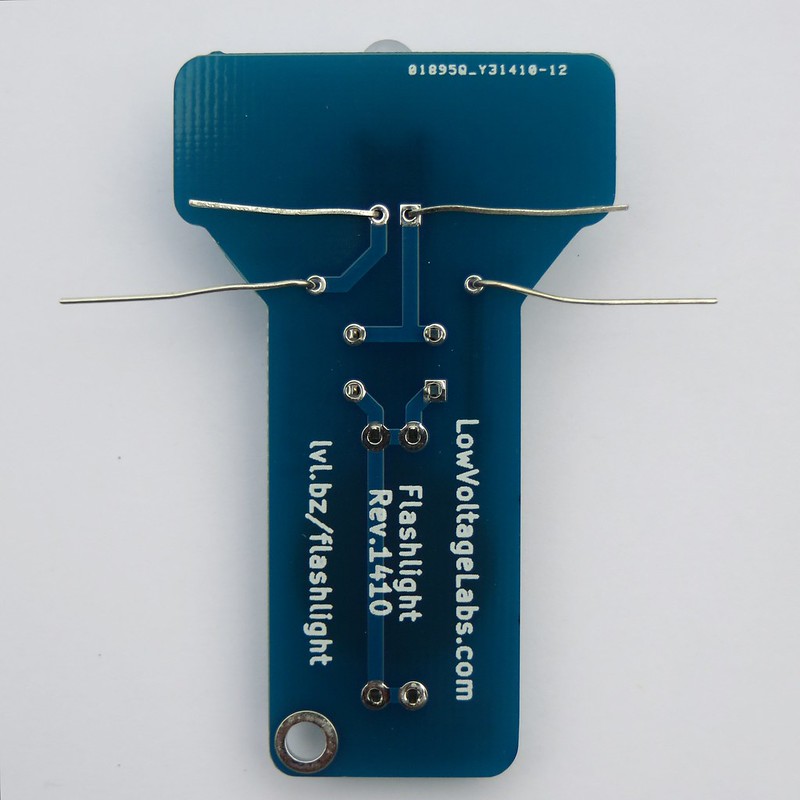
Step 10 - Turn over the flashlight and solder the parts on the back.
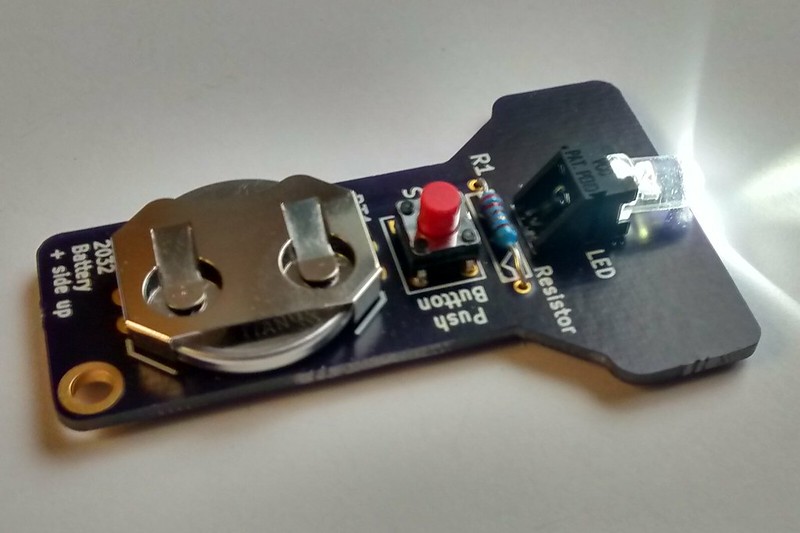
Step 11 - All parts are now soldered and installed.
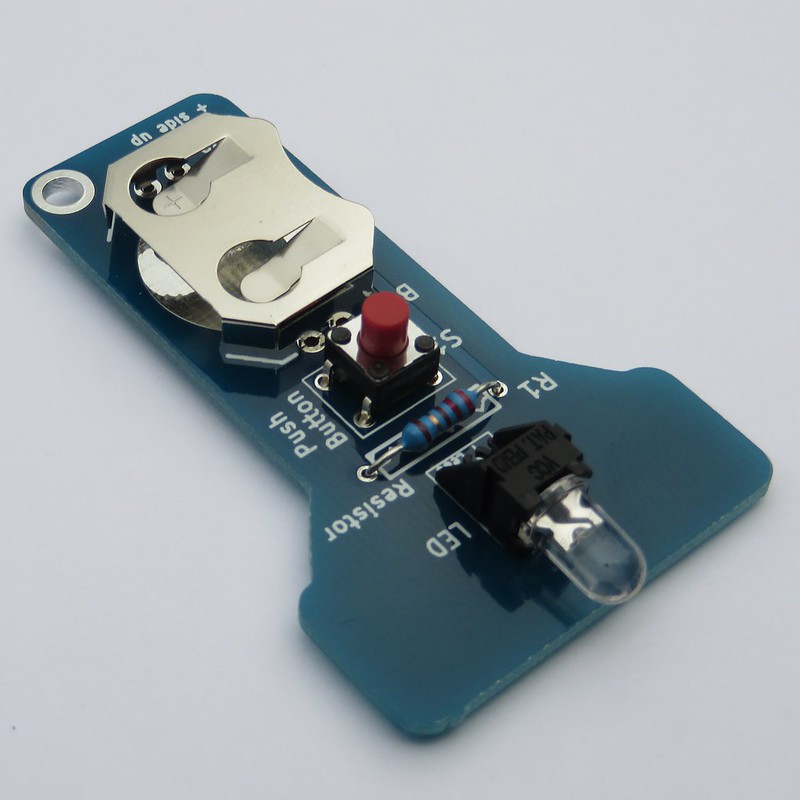
Step 12 - Install a 2032 battery with the positive side up. Press the push button to turn on the flashlight!