User Tools

Site Tools


ghost_kit_build_instructions

Ghost Kit Build Instructions

http://lowvoltagelabs.com/products/ghost-kit/

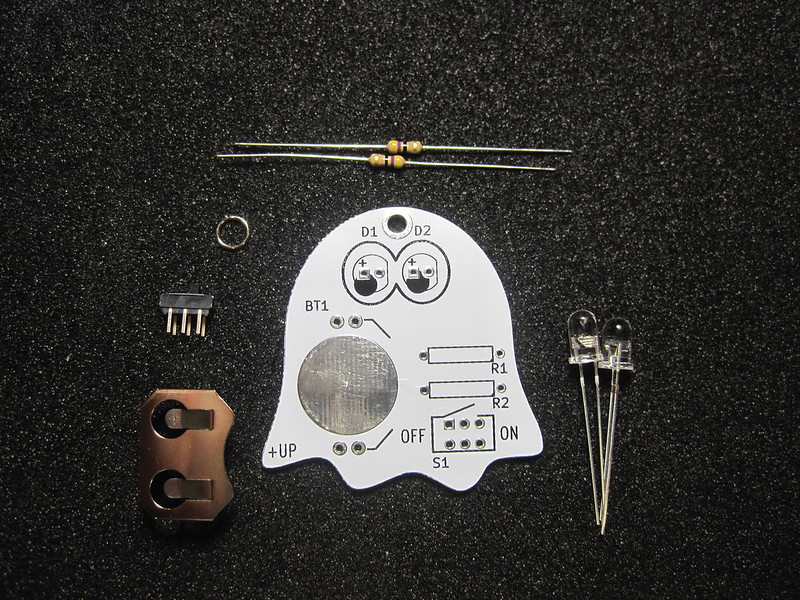
Step 1 - Check that all the parts were included with the kit Step 1 - Check that all the parts were included with the kit
Step 2 - Install the battery holder with the opening to the left Step 2 - Install the battery holder with the opening to the left
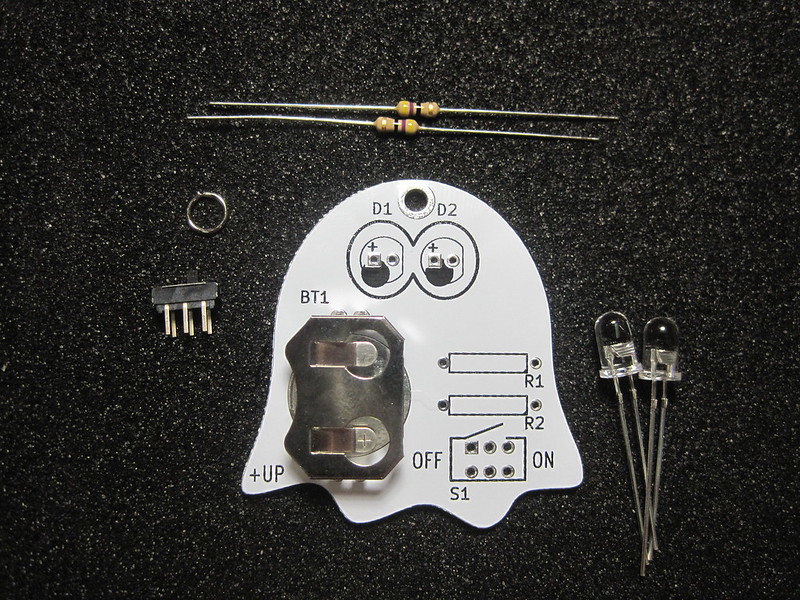
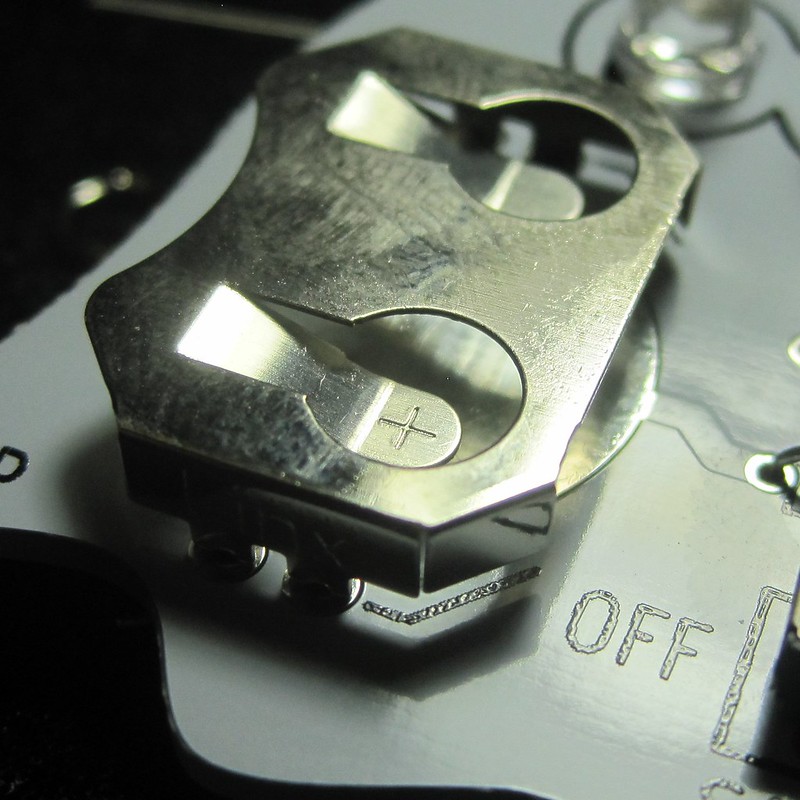
Step 3 - Check battery holder orientation Step 3 - Check battery holder orientation
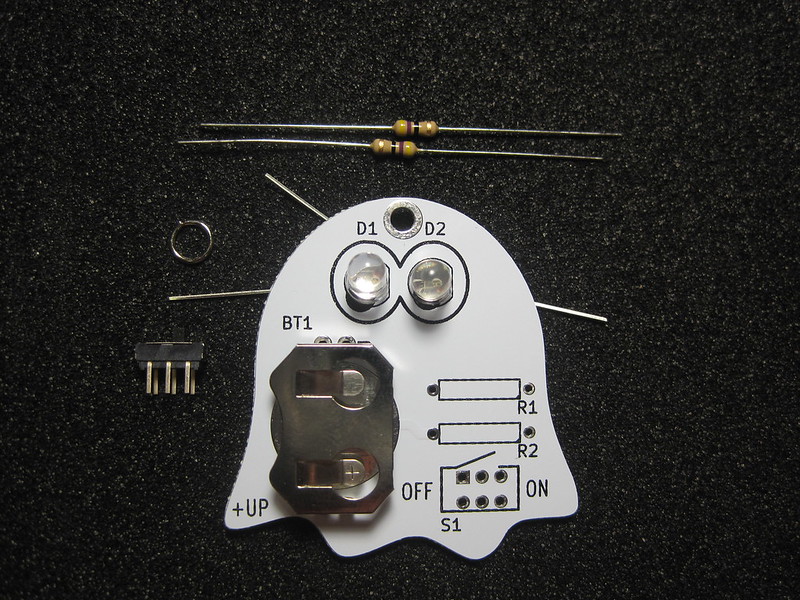
Step 4 - Install LEDs D1 and D2 with the longer lead to the positive (+) side Step 4 - Install LEDs D1 and D2 with the longer lead to the positive (+) side
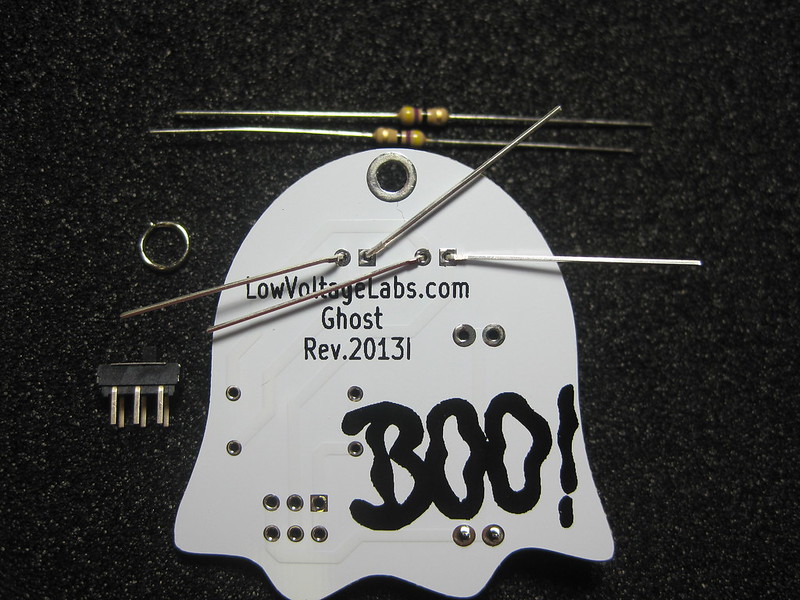
Step 5 - Fold the leads of the parts over as you install them to hold them in place Step 5 - Fold the leads of the parts over as you install them to hold them in place
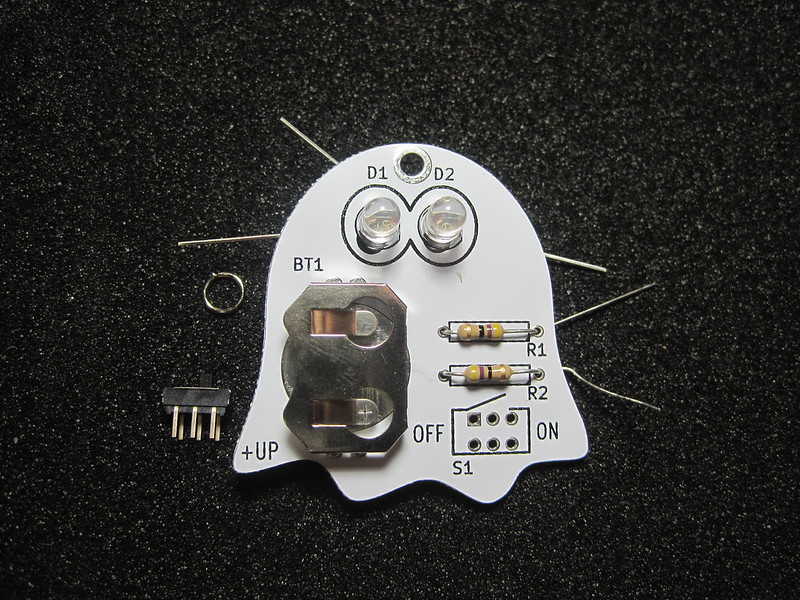
Step 6 - Install the resistors R1 and R2 Step 6 - Install the resistors R1 and R2
Step 7 - Install the swtich S1 Step 7 - Install the switch S1
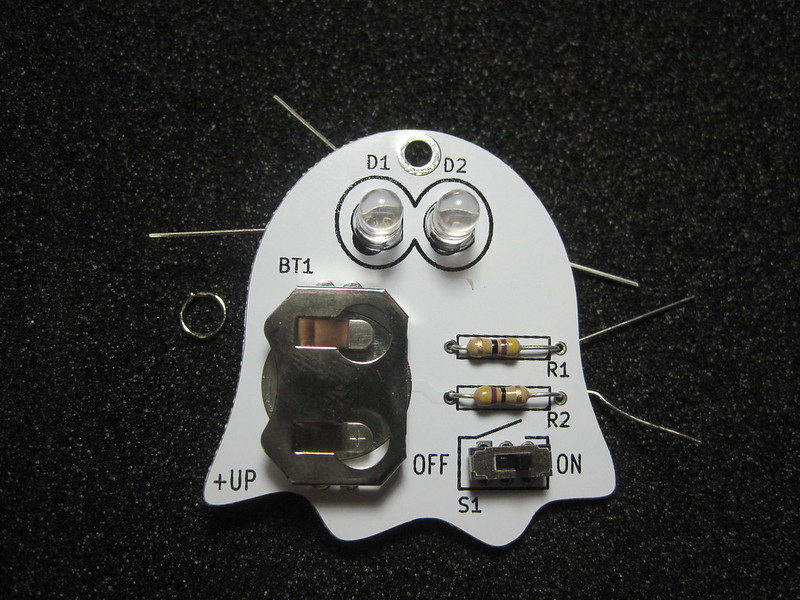
Step 8 - Flip over the ghost and solder the parts Step 8 - Flip over the ghost and solder the parts
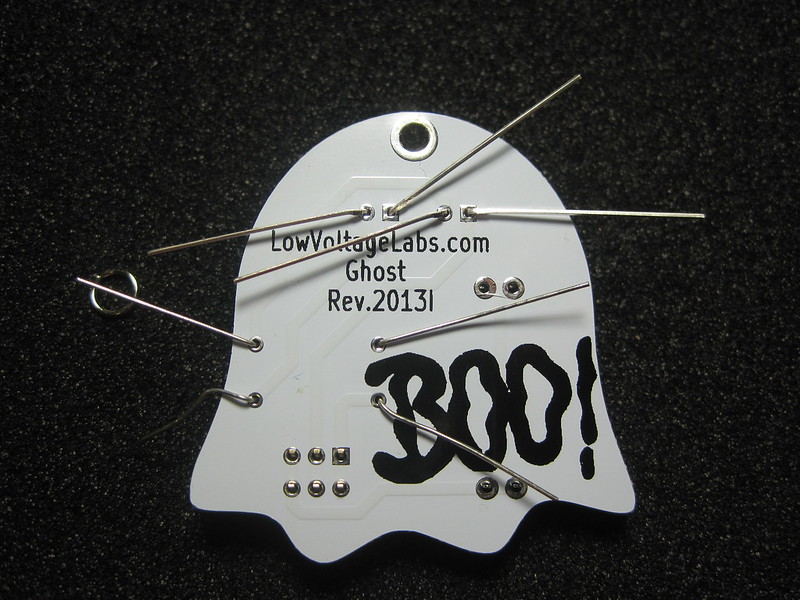
Step 9 - Install the ring to the top of the ghost Step 9 - Install the ring to the top of the ghost
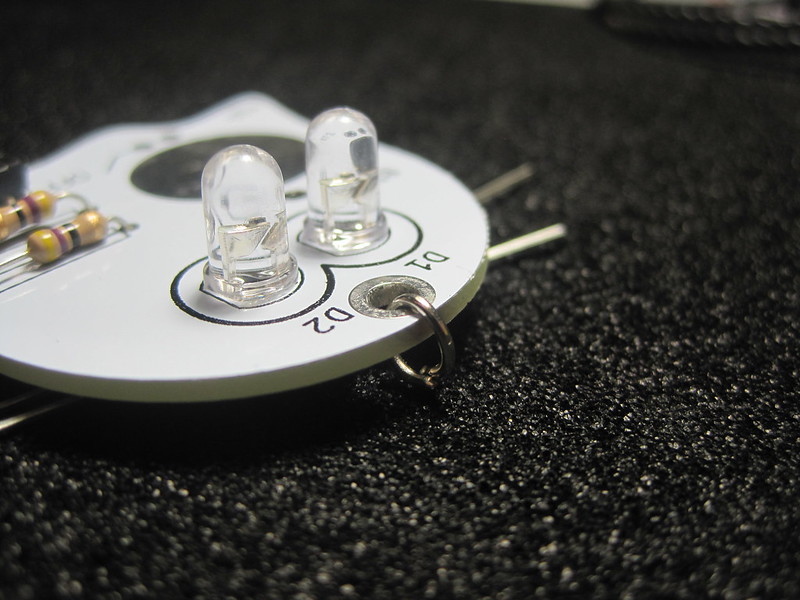
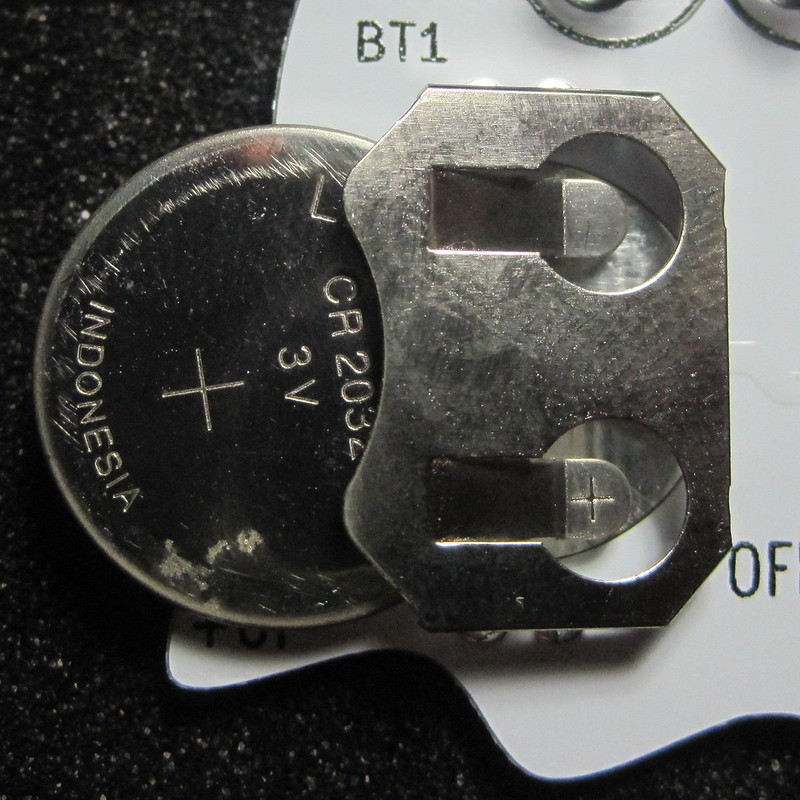
Step 10 - Install a 2032 battery with the positive side up Step 10 - Install a 2032 battery with the positive side up

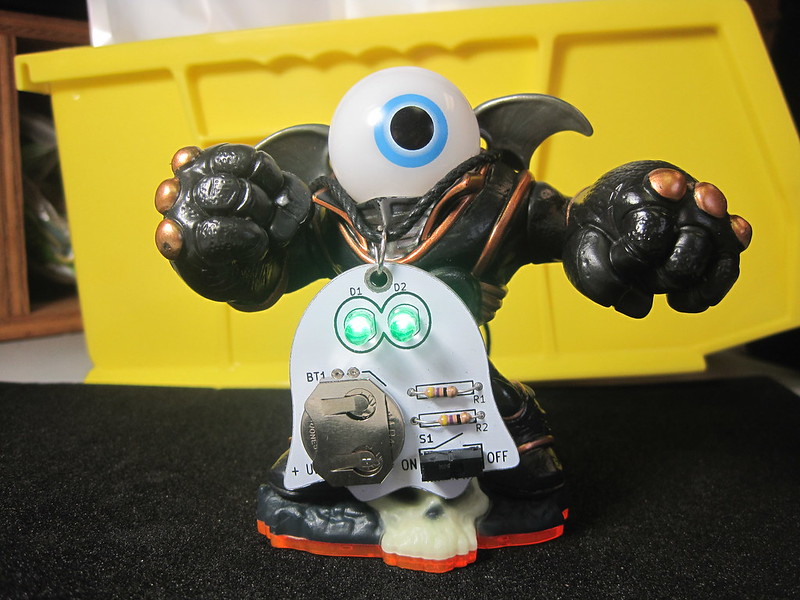
Step 11 - Turn on the switch and watch the green LEDs flash Step 11 - Turn on the switch and watch the green LEDs flash

ghost_kit_build_instructions.txt · Last modified: 2023/02/28 13:53 by eric